Ceilings, often overlooked in the regular cleaning routine, are silent collectors of dust, cobwebs, and airborne pollutants. While out of immediate sight, a dirty ceiling can diminish the overall cleanliness of a room, affect indoor air quality, and even harbor mold or mildew. Knowing the right tools and techniques can make this daunting task safe and effective, ensuring your home truly sparkles from top to bottom.
Cleaning your ceilings is a crucial, yet often neglected, part of maintaining a healthy and aesthetically pleasing home. Learn how to tackle this task safely and effectively for various ceiling types.
Why ceiling cleaning is often overlooked
Ceilings are often the forgotten surface in many homes, primarily for a few key reasons:
- Out of Sight, Out of Mind: Since ceilings are above eye level, dust and cobwebs are less immediately noticeable compared to floors or countertops. Accumulation can happen gradually, making the problem harder to detect until it’s significant.
- Difficulty and Inconvenience: Cleaning ceilings typically requires reaching high, often with ladders or extension poles, which can be physically demanding, time-consuming, and perceived as risky.
- Lack of Knowledge: Many homeowners are unsure about the correct tools or techniques to use for different ceiling types, fearing damage to paint or texture.
- Focus on High-Traffic Areas: Most cleaning routines prioritize areas that get the most use and visible dirt, such as kitchens, bathrooms, and floors.
- Perceived as a “Big Job”: The idea of cleaning all ceilings in a home can feel overwhelming, leading to procrastination.
Consequences of neglecting ceilings:
- Poor Indoor Air Quality: Ceilings accumulate dust, pet dander, pollen, and other airborne particles. As air circulates, these particles become airborne again, contributing to allergies, asthma, and general respiratory irritation.
- Aesthetic Degradation: Stains, discoloration, and visible cobwebs can make even an otherwise clean room look dingy and uncared for.
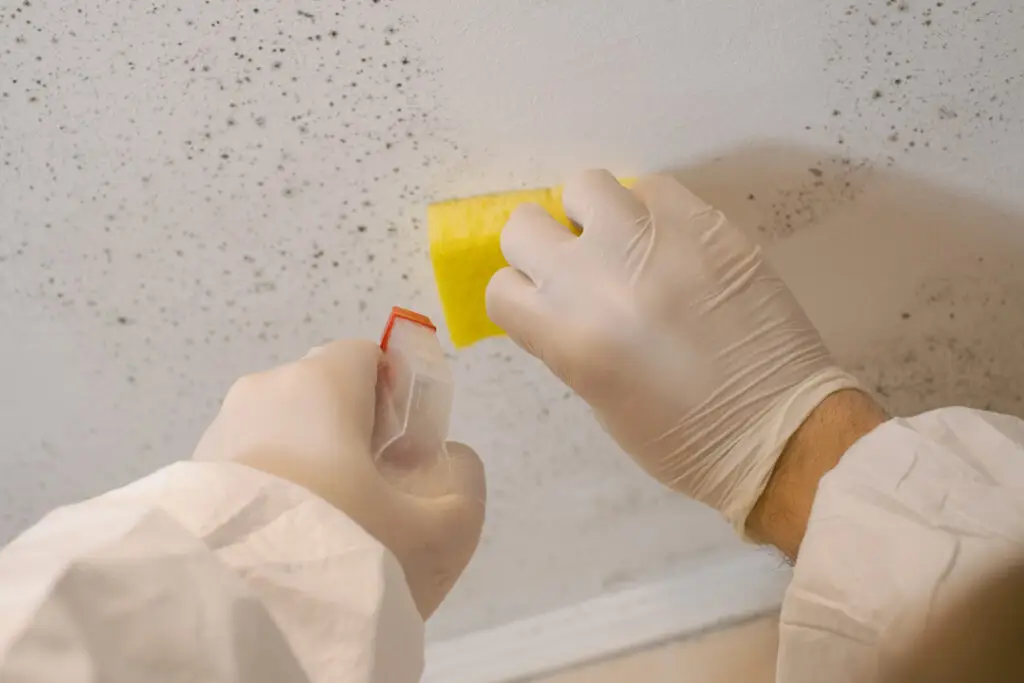
- Mold and Mildew Growth: In humid areas like bathrooms, moisture can cause mold and mildew to grow on ceilings, leading to musty odors and potential health risks.
- Attraction for Pests: Cobwebs are a tell-tale sign of spiders, and accumulated dust can attract other pests.
Tools you’ll need to clean ceilings safely
Safety is paramount when cleaning high surfaces. Gather these tools before you start:
- Safety Goggles: To protect your eyes from falling dust, debris, or cleaning solution drips.
- Head Covering/Old Hat: To keep dust out of your hair.
- Mask/Respirator: Especially important for dusty jobs or when using cleaning solutions, to prevent inhalation of particles or fumes.
- Gloves: To protect your hands from dust, dirt, and cleaning chemicals.
- Sturdy Step Ladder or Extension Pole: Choose a ladder that is stable and rated for your weight. For most ceilings, a good quality, adjustable extension pole with various attachments is invaluable as it minimizes ladder use.
- Microfiber Duster with Extendable Pole: Ideal for trapping dust and cobwebs without just pushing them around. Look for one with a flexible or bendable head to reach corners.
- Vacuum Cleaner with Soft Brush Attachment and Extension Wand: Excellent for removing loose dust, cobwebs, and even light debris from textured surfaces without causing damage. A HEPA-filtered vacuum is best for air quality.
- Clean Microfiber Cloths and Sponges: For wiping and spot cleaning. Use white cloths to easily see dirt transfer.
- Two Buckets: One for cleaning solution, one for rinse water.
- Mild Cleaning Solution: Depending on the ceiling type, this could be warm water with a few drops of mild dish soap, or a diluted all-purpose cleaner.
- Drop Cloths or Old Sheets: To protect furniture and flooring from falling dust and drips.
- Spray Bottle: For applying cleaning solution sparingly to cloths or directly to small spots.
- Soft-Bristle Brush (Optional): For gently scrubbing textured surfaces or grout if applicable.
Step-by-step guide for different ceiling types
Always clear the area below, cover furniture and floors with drop cloths, and wear your safety gear before you begin. Test any wet cleaning solution on an inconspicuous area first.
Flat painted ceilings
These are generally the easiest to clean.
- Dry Dust First: Using a microfiber duster with an extension pole, gently wipe down the entire ceiling. Work in sections, overlapping slightly, to remove all loose dust and cobwebs. Pay extra attention to corners and around light fixtures and vents.
- Spot Clean Stains: For visible smudges, scuff marks, or light stains:
- Mix a mild cleaning solution: Combine 1 cup warm water with 1 teaspoon of clear, dye-free dish soap (or a gentle all-purpose cleaner).
- Dampen a clean microfiber cloth or soft sponge with the solution. Wring it out thoroughly so it’s barely damp, not dripping.
- Gently wipe the stain. Do not scrub harshly, as this can damage the paint finish or spread the stain. Work from the outside of the stain inwards.
- Immediately follow with a separate clean cloth dampened with plain water to rinse the area, removing all soap residue.
- Pat the area dry with a clean, dry cloth to prevent water spots or streaks.
- For Tougher Stains (e.g., water stains, grease, smoke):
- Water Stains: If the water leak has been resolved, try a solution of 1 part bleach to 3 parts water (for light-colored ceilings only, test first!), or a hydrogen peroxide solution (equal parts 3% hydrogen peroxide and water). Apply sparingly to a clean cloth and blot the stain. Rinse and dry thoroughly.
- Grease/Smoke Stains (common in kitchens): A diluted solution of white vinegar and water (1:1 ratio) can help cut through grease. Apply with a cloth and gently wipe. For very stubborn grease, a mild degreaser safe for painted surfaces can be used, following product instructions precisely.
- If stains persist, it may be necessary to prime and repaint the affected area.
Popcorn ceilings
These textured ceilings are delicate and can easily be damaged or dislodged. Dry methods are almost always preferred.
- Dry Dust/Vacuum Gently: This is the primary method for popcorn ceilings.
- Use a vacuum cleaner with a soft brush attachment and extension wand. Set the vacuum to its lowest suction setting. Gently move the brush across the ceiling surface to suck up dust and cobwebs. Avoid direct pressure that could dislodge the texture.
- Alternatively, use a very soft, fluffy microfiber duster or a feather duster on an extension pole. Move it gently and lightly across the surface. A paint roller wrapped with duct tape (sticky side out) can also gently lift dust and cobwebs.
- Spot Cleaning (Extreme Caution): Wet cleaning is generally not recommended for popcorn ceilings as excessive moisture can cause the texture to soften, sag, or detach.
- For very small, isolated stains (e.g., a tiny mark from a fly), lightly dampen a clean white cloth or sponge with plain water (or a highly diluted mild detergent solution, tested first). Gently dab the stain; never rub or scrub. Pat dry immediately with a clean, dry cloth.
- For mold or severe stains, professional help is strongly recommended to avoid widespread damage or hazardous material exposure (older popcorn ceilings can contain asbestos).
Wooden or textured ceilings (e.g., wood planks, beadboard, embossed plaster)
These require attention to the material and its finish.
- Dry Dust Thoroughly: Use a soft microfiber duster or a vacuum with a brush attachment to remove all loose dust, cobwebs, and debris from the surface, especially in grooves or textures.
- Inspect the Finish: Determine if the wood is sealed, painted, or raw. This will dictate your wet cleaning approach.
- Wet Cleaning (if applicable):
- Sealed Wood/Painted Wood: Dampen a clean microfiber cloth with a solution of mild dish soap and warm water. Wring it out very well so it’s only slightly damp. Gently wipe the wood surface. For wood, always wipe in the direction of the grain. Follow immediately with a clean cloth dampened with plain water to rinse, then dry thoroughly with another clean, dry cloth to prevent water spots or warping.
- Unfinished/Raw Wood: Avoid wet cleaning entirely as water can stain, warp, or damage raw wood. Stick to thorough dry dusting and vacuuming. For specific stains, consult a wood restoration expert.
- Textured Plaster/Other Textured Surfaces: Use a very lightly damp cloth with mild soap solution. Gently dab or wipe, following the contours of the texture. Avoid over-wetting. Rinse and dry carefully.
- Special Considerations:
- For intricate carvings or deep textures, a soft-bristle brush (e.g., a toothbrush for very small areas) can help dislodge dust.
- For high ceilings with beams, a soft dust brush or vacuum attachment can effectively clean the top and sides of the beams.
Preventing dust and stains over time
Proactive measures can significantly reduce the need for intensive ceiling cleaning.
- Regular Dusting: Make ceiling dusting a part of your routine cleaning, perhaps monthly or quarterly, using an extendable duster or vacuum. This prevents heavy buildup.
- Maintain HVAC Filters: Regularly change or clean your home’s HVAC air filters. High-efficiency (MERV-rated) filters can capture more airborne particles before they settle on surfaces, including ceilings.
- Good Ventilation: In kitchens and bathrooms, use exhaust fans during and after cooking or showering. This reduces humidity, grease, and steam that can lead to stains and mold growth on ceilings.
- Address Leaks Promptly: Fix any roof or plumbing leaks immediately. Water stains are common ceiling issues and can lead to mold if left unaddressed.
- Control Indoor Humidity: Use dehumidifiers in naturally damp areas like basements or during humid seasons to keep overall indoor humidity levels below 50%, inhibiting mold growth.
- Avoid Smoking Indoors: Tobacco smoke leaves a sticky, yellowish residue on ceilings and walls that is difficult to remove.
- Use Kitchen Hood Vents: Always use your range hood fan when cooking, especially when frying or sautéing, to extract grease and smoke particles before they settle on the ceiling.
When to call a professional
While DIY methods are effective for routine maintenance, some situations warrant professional intervention. Quality Cleaning Services has the expertise, equipment, and safety training for challenging ceiling cleaning tasks.
- Very High or Cathedral Ceilings: Reaching these areas safely requires specialized ladders, scaffolding, or lifts that homeowners typically don’t own. Professionals have the right equipment and training for working at heights.
- Extensive or Stubborn Stains: For widespread water damage stains (once the leak is fixed), heavy smoke residue, large mold infestations, or deep-set grease stains that DIY methods can’t remove. Professionals often have stronger, yet safe, cleaning agents and techniques (like specialized stain removal or odor remediation).
- Delicate or Unique Finishes: If your ceiling has a historical mural, intricate plasterwork, or a very delicate finish that could be easily damaged by improper cleaning.
- Popcorn Ceilings with Asbestos Concerns: If your home was built before the 1980s, popcorn ceilings might contain asbestos. Disturbing these without proper protective gear and containment can release hazardous fibers. Professionals are trained to handle such situations safely or advise on abatement.
- Mold Infestation: While small mold spots can be handled by homeowners, extensive mold growth indicates a larger moisture problem and should be addressed by mold remediation specialists, who will also clean affected surfaces like ceilings.
- Time and Effort: If the thought of cleaning your ceilings feels overwhelming due to time constraints, physical limitations, or simply a lack of desire, a professional service can provide thorough results without the hassle.
A clean ceiling brightens your home and contributes to a healthier environment. By understanding when to clean it yourself and when to call in the experts, you can ensure this often-forgotten surface gets the attention it deserves.