Wood walls, whether sleek modern panels or rustic shiplap, add warmth, character, and natural beauty to any home. However, like any surface, they require proper care to maintain their luster and prevent damage from dust, grime, and moisture. Understanding the type of wood and its finish is key to choosing the right cleaning methods, ensuring longevity and preserving their inviting appeal.
Preserving the beauty of your wood walls means employing gentle yet effective cleaning techniques. With the right approach, you can keep them looking rich and vibrant for years.
Understanding the finish: Sealed vs Unsealed wood
Before you clean, it’s crucial to identify if your wood walls are sealed (finished) or unsealed (raw/unfinished). This distinction will dictate your cleaning approach, as unsealed wood is far more sensitive to moisture and cleaners.
- Sealed Wood (Finished Wood):
- Appearance: Often has a sheen (satin, semi-gloss, high-gloss) or a dull, matte look if a penetrating oil finish is used. Water typically beads up on the surface.
- Common Finishes: Polyurethane, varnish, lacquer, shellac, tung oil, linseed oil, wax. These finishes create a protective barrier over the wood.
- Cleaning: Can withstand gentle damp cleaning methods. The finish protects the wood from direct exposure to water and many cleaning agents.
- Unsealed Wood (Raw/Unfinished Wood):
- Appearance: Looks natural, often dull or chalky. Water will immediately soak into the wood and darken it.
- Examples: Unfinished reclaimed wood, some types of rough-sawn lumber, or wood that was never treated.
- Cleaning: Highly susceptible to water damage, staining, and warping. Wet cleaning should be avoided almost entirely.
How to Test the Finish: Drip a tiny amount of water (just a single drop) onto an inconspicuous spot on the wood wall.
- If the water beads up: The wood is sealed.
- If the water immediately soaks into the wood and darkens it: The wood is unsealed. Wipe off the water quickly to prevent a permanent stain.
Dusting and daily maintenance tips
Regular dry dusting is the safest and most important step for maintaining all types of wood walls, preventing accumulation that can dull the finish or attract moisture.
- Regular Dusting: Aim to dust wood walls at least monthly, or more frequently in dusty environments. Use a soft, dry microfiber cloth, a lamb’s wool duster, or a vacuum cleaner with a soft brush attachment.
- Extension Tools: For high walls or vaulted ceilings, use an extendable duster or a vacuum with an extension wand to reach all areas safely.
- Wipe Down Gaps/Grooves: For shiplap or paneled walls, pay extra attention to the grooves where dust tends to settle. A vacuum brush attachment is excellent for this.
- Gentle Pressure: Always use light pressure to avoid scratching the wood or damaging the finish.
- Dust Often, Not Deep: Frequent light dusting is better than infrequent heavy dusting, as it prevents dust from bonding with moisture or oils.
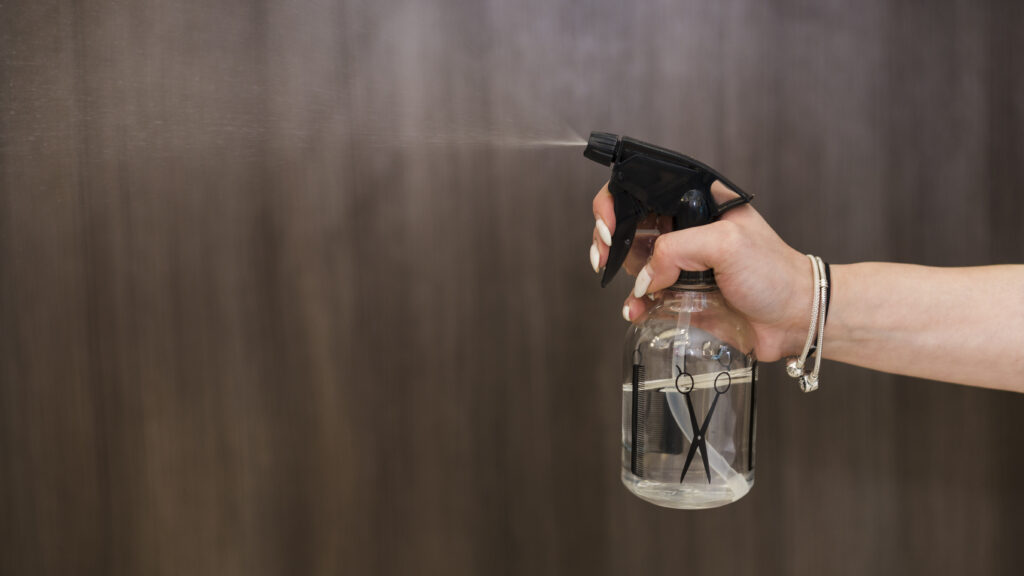
How to remove stains without damaging the wood
Stain removal methods depend heavily on the type of stain and the wood’s finish. Always start with the gentlest method and work your way up. Test any method in an inconspicuous area first.
For sealed wood walls:
- General Dirt/Grime/Fingerprints:
- Method: Dampen a clean microfiber cloth with plain warm water. Wring it out thoroughly so it’s barely damp. Gently wipe the affected area.
- Follow-up: Immediately dry the area with a separate clean, dry cloth to prevent water spots.
- Mild Smudges/Scuff Marks:
- Method: A small amount of a mild, pH-neutral wood cleaner (specifically designed for finished wood) on a clean, damp cloth.
- Follow-up: Rinse with a clean, damp cloth (water only) and dry thoroughly.
- Grease Splatters (Kitchen):
- Method: Mix a few drops of clear, dye-free mild dish soap with warm water. Dampen a cloth with the solution, wring well, and gently wipe the grease.
- Follow-up: Rinse with a clean, damp cloth and dry immediately.
- Water Marks/Rings (Light):
- Method: For fresh, light watermarks, apply a small amount of mayonnaise or petroleum jelly to the mark. Let it sit for several hours or overnight. The oil may draw out the moisture.
- Follow-up: Wipe away with a clean cloth and buff.
- For Deeper Marks: You might need to gently rub with a cloth dampened with mineral spirits, followed by re-waxing or re-oiling if the finish allows.
- Mold/Mildew (Small Spots):
- Method: Mix 1 part white vinegar with 2 parts water. Dampen a cloth (not soaking) with the solution and gently wipe the mold.
- Follow-up: Dry the area thoroughly. Ensure proper ventilation to prevent recurrence.
- Crayon/Pencil Marks:
- Method: Gently rub with a clean, soft pencil eraser. For more stubborn marks, a cloth with a tiny bit of mineral spirits or rubbing alcohol (test first!) can be used sparingly.
- Follow-up: Wipe clean with a damp cloth and dry.
For unsealed (raw) wood walls:
- Avoid Wet Cleaning for Stains: Water will almost certainly stain or warp unsealed wood.
- Dry Scrape/Brush: For dried dirt or surface stains, try gently scraping with a credit card edge or very gently brushing with a soft-bristle brush.
- Sanding: For more significant stains on raw wood, light sanding with fine-grit sandpaper (in the direction of the grain) may be the only option, but this will alter the surface texture. Proceed with extreme caution and only if prepared to potentially refinish the area.
- Professional Help: For any liquid stains or deep discoloration on unsealed wood, professional restoration is highly recommended.
Natural cleaners vs Store-bought products
Both natural and commercial products can be effective, but their suitability varies for wood walls.
Natural cleaners:
- Pros: Generally gentle, non-toxic, eco-friendly, readily available.
- Common Use: Best for light dusting, general dirt, fingerprints, and mild stains on sealed wood.
- Examples:
- Warm Water + Mild Dish Soap: For general cleaning of sealed wood.
- White Vinegar (diluted): Good for light grime and mold on sealed wood. Always dilute and rinse thoroughly.
- Olive Oil/Vinegar Polish (for sealed wood): Mix 1/2 cup olive oil with 1/4 cup white vinegar. Apply sparingly to a soft cloth and buff into the wood. This cleans, moisturizes, and adds shine.
- Cons: Can be less effective on heavy grease or very tough stains. Undiluted acids (like straight vinegar, lemon juice) are harmful to many wood finishes over time.
Store-bought products:
- Pros: Formulated for specific wood types/finishes, often more powerful for tough stains, many include polish or protective elements.
- Common Use: Good for deeper cleaning of sealed wood, specific stain removal (e.g., wood cleaner for greasy kitchen walls), or adding shine.
- Examples:
- pH-Neutral Wood Cleaners: Specifically designed for finished wood.
- Wood Polishes/Conditioners: Contain oils and waxes that nourish wood and add shine. Do not use on unsealed wood.
- Specialized Stain Removers: For specific issues like water rings or deep discoloration on finished wood (follow instructions precisely).
- Cons: Can contain harsh chemicals or strong fragrances. Using the wrong product can damage the finish. Read labels carefully to ensure compatibility with your wood finish.
Important Note: Never use all-purpose cleaners or strong detergents not specifically labeled safe for wood, as they can strip finishes or leave dulling residues. Avoid silicone-based polishes as they can build up over time and create problems for future refinishing.
Deep cleaning and protecting your wood walls
Deep cleaning is necessary periodically to remove accumulated grime, and protecting the wood helps maintain its appearance and longevity.
Deep cleaning (for sealed wood walls):
- Thorough Dry Dusting: Start by completely removing all loose dust and cobwebs with a vacuum or duster.
- Prepare Cleaning Solution: Mix a larger batch of your preferred gentle cleaner (e.g., mild dish soap and warm water, or a specialized wood cleaner diluted per instructions).
- Clean in Sections: Work on one section of the wall at a time. Dampen a clean, soft cloth (microfiber is excellent) with the cleaning solution, wring it out very well, and wipe down the section.
- Rinse and Dry Immediately: Using a separate cloth dampened with plain water, rinse the section immediately. Follow quickly with a clean, dry cloth to thoroughly dry the wood. Do not allow water to sit on the surface.
- Address Gaps/Grooves: For shiplap or paneled walls, use a slightly damp, pointed tool (like a wrapped skewer or a thin brush) to clean within the grooves.
- Buff (Optional): After drying, you can gently buff the wood with a clean, dry cloth to enhance its shine.
Protecting your wood walls:
- Maintain the Finish: For sealed wood, ensure the finish is intact. If it starts to look dull or worn, consider reapplying a wax, oil, or a clear topcoat as recommended for your specific finish.
- Control Humidity: Wood can expand and contract with humidity changes, potentially leading to cracking or warping. Use humidifiers/dehumidifiers to maintain stable indoor humidity levels (ideally 35-55%).
- Avoid Direct Sunlight: Prolonged direct sunlight can fade wood and dry out its finish. Use blinds or curtains to protect walls from intense sun.
- Use Proper Products: Stick to wood-specific, gentle cleaners and avoid harsh chemicals or abrasives.
- Regular Dusting: Reinforce daily maintenance as the best protective measure against dirt buildup.
When to refinish or reseal
Even with the best cleaning and maintenance, wood walls may eventually need more than just a clean to restore their beauty.
- Dull or Worn Finish: If the wood looks dull, faded, or shows significant wear despite cleaning, the protective finish may be worn through.
- Deep Scratches or Dents: While cleaning won’t fix physical damage, a refinishing process can often sand out minor scratches and dents.
- Persistent Stains: If stains have penetrated the finish (for sealed wood) or are severe on unsealed wood and cannot be removed by cleaning, refinishing is often the only way to eliminate them.
- Fading or Discoloration: If parts of the wood wall have noticeably faded or discolored due to sun exposure or age, refinishing can restore a uniform color.
- Water Damage (Beyond Surface Stain): If unsealed wood has significant water damage (warping, swelling, permanent darkening), or if the finish on sealed wood has lifted due to prolonged moisture, refinishing or repair is likely needed.
- Peeling/Cracking Finish: If the existing finish is peeling, cracking, or flaking, it’s a sign that it has failed and needs to be stripped and reapplied.
- Overall Aesthetic Refresh: Sometimes, you just want a new look or to bring the wood back to its original glory.
Quality Cleaning Services can provide thorough deep cleaning for your wood walls, and while we don’t typically offer refinishing services, we can help assess the condition of your wood walls and advise if a professional refinishing might be necessary, and connect you with local experts if needed. Our goal is to ensure your entire home, including its beautiful wood elements, always looks its best.
By understanding the nature of your wood walls and applying appropriate cleaning and protection methods, you can ensure they remain a stunning and durable feature of your home for many years.