
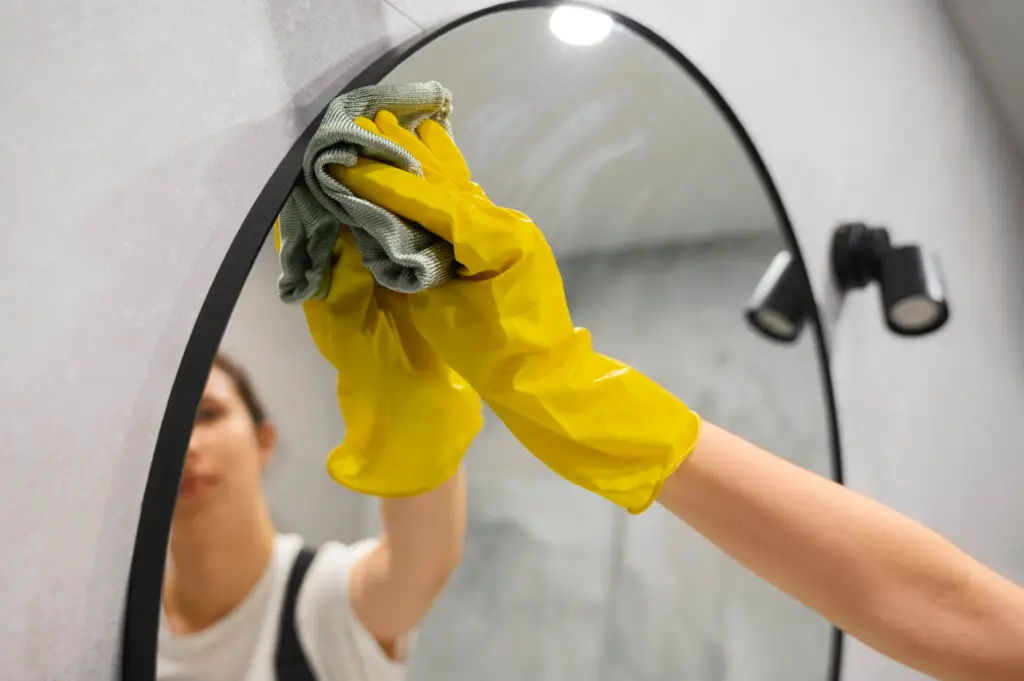
A streaky mirror is more noticeable than a dirty one. You clean it, step back, and see the same hazy lines you started with. The problem is usually not the cleaning product but the technique, the cloth, or the order of steps. Getting a perfectly clear mirror is straightforward once you know the right approach.
At Quality Clean Service, we clean bathrooms and living spaces across Nantucket, Cape Cod, and Martha’s Vineyard to a professional standard every week. In this guide, we share the best way to clean mirrors without streaks, including which products to use, which ones to avoid, and why so many common methods leave marks behind.
Why mirrors streak when you clean them
Understanding why streaks happen helps you avoid them. There are three main causes:
Product residue: Many commercial glass cleaners leave a thin film when they dry. This film is invisible in low light but reflects light unevenly in bright conditions, creating the hazy appearance that looks like streaks.
Wrong cloth material: Paper towels and many fabrics leave fibers behind on the glass. These fibers catch light and create a blurry, smudged appearance even after a thorough wipe.
Cleaning in the wrong order: Wiping over a surface that has not been properly cleaned first just moves dirt around. Oils, toothpaste splatter, and soap residue need a specific technique to lift cleanly from glass.
Fixing these three factors is what separates a streak-free mirror from a frustrating one.
What to use for cleaning mirrors
The right tools make a significant difference in the result.
Best cloths for mirrors:
- Microfiber cloths: the single best choice for streak-free results. They pick up debris without leaving fibers and absorb moisture evenly.
- Lint-free cotton cloths: a reliable second option
- Newspaper: an old method that still works well because the ink acts as a mild polish
Avoid these:
- Standard paper towels: leave lint and fiber residue on glass
- Sponges: hold too much liquid and spread water unevenly
- Fluffy or textured cloths: deposit fibers onto the surface
Best cleaning solutions for mirrors:
- Diluted white vinegar: mix equal parts white vinegar and distilled water. This is one of the most effective and streak-free options available.
- Isopropyl alcohol (70%) mixed with water: excellent for cutting through oils and fingerprints
- Commercial glass cleaner: effective when used correctly with a microfiber cloth. Products such as Windex with Vinegar are formulated to minimize residue.
- Distilled water alone: for lightly soiled mirrors between deeper cleanings
Avoid tap water if your area has hard water. Mineral deposits in hard water leave white spots on glass as the water evaporates. Nantucket and parts of Cape Cod have high mineral content in their water supply, which makes this especially relevant for local homeowners. Use distilled water in your spray bottle whenever possible.
Step 1: Remove surface dust and loose debris
Before applying any liquid, remove loose dust and debris from the mirror surface. Dry dusting first prevents you from dragging particles across the glass during cleaning, which causes fine scratches over time.
Use a dry microfiber cloth and wipe the entire surface gently in a single direction. Work from top to bottom. This step takes about twenty seconds but makes the cleaning steps that follow significantly more effective.
If the mirror has any stubborn spots such as toothpaste, hairspray, or dried water droplets, address those next before applying your cleaning solution broadly.
Step 2: Pre-treat stubborn spots
Stubborn spots need direct attention before you clean the entire mirror. Spraying the whole surface and then attacking these spots usually results in the surrounding area drying before you finish, which creates streaks.
For toothpaste: apply a small amount of rubbing alcohol or white vinegar directly to the spot. Let it sit for thirty seconds, then rub with a corner of your microfiber cloth.
For hairspray residue: hairspray is one of the most common causes of bathroom mirror haze. Rubbing alcohol dissolves hairspray quickly. Apply it to your cloth and rub the affected area firmly.
For hard water spots: apply undiluted white vinegar and let it sit for one to two minutes before rubbing. For heavy mineral buildup, you may need to apply vinegar multiple times or use a commercial descaling product.
Once the stubborn spots are gone, proceed to cleaning the full surface.
Step 3: Apply your cleaning solution
Spray your cleaning solution onto your microfiber cloth, not directly onto the mirror. Spraying directly onto glass causes overspray that runs down the mirror into the frame and behind it. This can damage mirror backing over time, causing black spots or peeling at the edges.
Apply just enough product to dampen the cloth. Too much liquid is one of the most common causes of streaks. You want the cloth moist, not wet.
Step 4: Clean using the right technique
The technique you use is just as important as the product. There are two effective methods:
The Z or S pattern: Start at the top left corner and wipe in a Z-shape or S-shape across the full mirror. This method ensures you cover the entire surface without going over the same area multiple times while wet, which spreads residue.
Horizontal then vertical: Wipe horizontally across the entire mirror, then go back over it with vertical strokes. The second direction catches any streaks left by the first, leaving the surface completely clear.
Work quickly. The goal is to remove the cleaning solution from the glass before it dries. If the solution dries before you finish wiping, it leaves a film.
Step 5: Buff dry with a clean, dry cloth
Once you have wiped the entire mirror, immediately buff it dry with a second clean, dry microfiber cloth. Use circular motions and light pressure. This final buffing step removes the last traces of moisture and cleaning solution, leaving the glass completely clear.
Step back and check the mirror from different angles under available light. Streaks are most visible at an angle rather than straight on. If you see any remaining marks, buff those areas again with the dry cloth.
This five-step process produces a streak-free result on virtually every mirror surface.
How to clean a large bathroom mirror
Large bathroom mirrors require the same technique but benefit from a slightly different approach to manage the larger surface area.
Work in sections. Divide the mirror mentally into three or four sections and clean each one before moving to the next. This prevents the cleaning solution from drying on one section while you work on another.
Use a squeegee for very large mirrors. A quality rubber squeegee with a clean blade produces streak-free results on large glass surfaces faster than any cloth method. Spray the solution onto the mirror, draw the squeegee from top to bottom in overlapping vertical strokes, and buff the edges dry with a microfiber cloth.
Also check the frame and the edges of the mirror during cleaning. Cleaning solution that gets into the frame or behind the mirror edges can cause the silver backing to oxidize and create permanent dark spots. Wipe the frame clean and dry promptly.
How often should you clean your mirrors?
The answer depends on where the mirror is located and how much use it gets.
| Mirror location | Recommended frequency |
|---|---|
| Bathroom mirror (daily use) | Once or twice per week |
| Bedroom vanity mirror | Once per week |
| Decorative mirrors | Every two to four weeks |
| Entryway mirrors | Every two weeks |
In bathrooms, steam from showers and splatter from sinks means mirrors get dirty faster. A quick wipe with a dry microfiber cloth after each shower prevents heavy buildup between thorough cleanings.
Keeping mirrors cleaner for longer
A few simple habits reduce how often you need to do a full clean:
- Run your bathroom exhaust fan during and after showers to reduce steam buildup on mirrors
- Keep hairspray and aerosol products as far from the mirror as possible when using them
- Use a squeegee or dry cloth to wipe steam off the mirror immediately after a shower
- Apply a rain-repellent product such as Rain-X to the mirror surface. This creates a coating that repels water and reduces mineral spotting significantly
These habits work especially well in coastal homes on Nantucket and Cape Cod, where high humidity and salty air create additional buildup challenges on glass surfaces.
For a complete guide to keeping your bathroom spotless, see our house cleaning checklist. It covers every surface from mirrors to grout, organized by priority.
Our residential cleaning services include detailed bathroom cleaning as a standard part of every visit. We serve homes throughout Nantucket, Martha’s Vineyard, and Cape Cod with flexible, professional cleaning tailored to your schedule.
The best way to clean mirrors: one routine that keeps them clear longer
Building the best way to clean mirrors into a short weekly habit eliminates the need for intensive scrubbing sessions. Spend sixty seconds after your morning routine wiping the mirror with a dry microfiber cloth. This removes the daily accumulation of steam, dust, and hairspray before it bonds to the glass. When your scheduled weekly clean comes around, the best way to clean mirrors requires far less effort because the buildup is minimal. Small habits compound into consistently clear mirrors year-round.
Clean mirrors the right way, every time
The best way to clean mirrors comes down to three things: the right cloth, the right solution, and the right technique. Use a microfiber cloth, apply solution to the cloth rather than the glass, clean in a consistent pattern, and buff dry immediately. These five steps produce streak-free results every single time.
When your home needs a professional clean from top to bottom, Quality Clean Service is
