
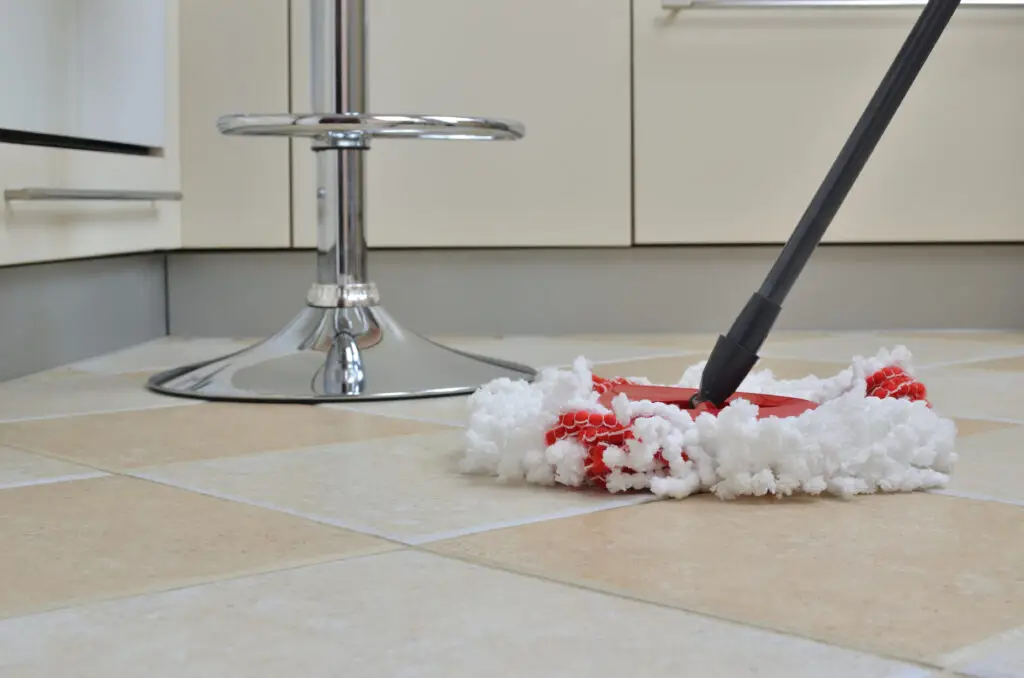
A clean kitchen floor helps create a healthier, safer, and more comfortable home. However, kitchen floors face constant exposure to food crumbs, grease, moisture, pet hair, and daily foot traffic. As a result, they often become one of the dirtiest surfaces in the house.
Learning how to clean a kitchen floor properly can help prevent buildup, improve hygiene, and protect your flooring investment. Whether you have tile, vinyl, laminate, or hardwood flooring, using the correct cleaning methods can produce better results and reduce long-term wear.
Quick answer: How to clean a kitchen floor
The best way to clean a kitchen floor is to sweep or vacuum first, remove sticky spots and grease buildup, use a floor-safe cleaning solution, and mop according to the flooring material. In addition, regular maintenance helps prevent dirt accumulation and keeps the floor looking cleaner for longer.
Why learning how to clean a kitchen floor matters
The kitchen is one of the busiest rooms in any home. Every day, floors collect food particles, cooking oils, moisture, dust, and dirt brought in from outside.
Unlike many other rooms, kitchen floors face multiple sources of contamination. For example, cooking releases microscopic grease particles into the air. Eventually, these particles settle on floors and create a sticky surface that attracts additional dirt.
Professional cleaning technicians frequently discover hidden buildup in areas homeowners rarely inspect, including:
- Around trash bins
- Under kitchen tables
- Along baseboards
- Near cabinet kick plates
- Around pet feeding stations
- Beneath movable appliances
Because dirt accumulates gradually, many homeowners do not notice the problem until floors begin to feel sticky or lose their shine.
Knowing how to clean a kitchen floor correctly helps:
- Remove grease buildup
- Improve kitchen hygiene
- Reduce odors
- Protect flooring materials
- Prevent slips and falls
- Extend floor lifespan
Therefore, proper floor maintenance is an essential part of maintaining a clean home.
How often should you clean a kitchen floor?
One of the most common questions homeowners ask is how often they should clean their kitchen floors.
The answer depends on cooking habits, household size, pets, and daily activity. However, most kitchens benefit from a combination of daily, weekly, and monthly cleaning.
Daily maintenance
Daily maintenance prevents dirt from accumulating.
Simple daily tasks include:
- Sweeping crumbs
- Cleaning spills immediately
- Removing visible debris
- Spot-cleaning sticky areas
Although these tasks take only a few minutes, they significantly reduce long-term buildup.
Weekly cleaning
Weekly cleaning should include:
- Thorough sweeping
- Vacuuming corners
- Mopping
- Cleaning edges and baseboards
- Removing grease residue
Consequently, dirt becomes easier to manage and floors remain in better condition.
Monthly deep cleaning
Monthly maintenance should focus on neglected areas.
Examples include:
- Behind trash containers
- Under furniture
- Around appliance edges
- Along baseboards
- Beneath pet feeding areas
During deep cleaning visits, professional cleaners often find accumulated dirt and grease in these locations even when the rest of the kitchen appears clean.
How to clean a kitchen floor before mopping
Many people begin mopping immediately. However, skipping preparation often spreads dirt instead of removing it.
The first step in learning how to clean a kitchen floor is eliminating loose debris.
Begin by sweeping or vacuuming thoroughly.
Pay special attention to:
- Corners
- Appliance edges
- Baseboards
- Cabinet kick plates
- Areas beneath tables and chairs
Food particles frequently collect in these locations.
If debris remains on the floor during mopping, it can mix with water and create muddy residue.
Remove sticky spots first
Before mopping, inspect the floor carefully.
Look for:
- Dried food spills
- Beverage stains
- Grease spots
- Sticky residue
Cleaning technicians often treat these areas separately before cleaning the entire floor.
As a result, mopping becomes more effective and floors dry more evenly.
Common mistakes homeowners make when cleaning kitchen floors
Many homeowners clean regularly but still struggle with dull surfaces, sticky residue, or recurring dirt.
In many cases, the issue is not how often they clean. Instead, it is how they clean.
Using too much water
One of the most common mistakes is excessive water use.
Although water helps remove dirt, too much moisture can damage:
- Laminate flooring
- Hardwood flooring
- Engineered wood flooring
Therefore, use a damp mop instead of a soaking wet one.
Cleaning in the wrong order
Another common mistake is mopping before removing debris.
Professional cleaners almost always sweep or vacuum first.
Otherwise, food particles and dust spread across the floor and reduce cleaning effectiveness.
Ignoring grease buildup
Grease is often invisible.
However, it creates a sticky surface that attracts dirt and bacteria.
Consequently, floors may appear dirty again shortly after cleaning.
Understanding how to clean a kitchen floor properly includes identifying and removing grease before it becomes a larger problem.
How to clean a kitchen floor with grease buildup
Grease is one of the biggest challenges homeowners face.
Unlike dust or crumbs, grease bonds to flooring surfaces and attracts additional debris.
Professional cleaning technicians frequently discover grease accumulation near:
- Stoves
- Ovens
- Kitchen islands
- Dishwashers
- Trash bins
- Food preparation areas
To remove grease effectively:
- Sweep or vacuum the floor.
- Apply a floor-safe cleaning solution.
- Allow the solution to sit briefly.
- Gently scrub greasy areas.
- Mop thoroughly.
- Rinse if necessary.
For heavy buildup, repeating the process may be necessary.
Furthermore, regular grease removal prevents future cleaning problems.
Signs of grease buildup
Many homeowners do not immediately recognize grease accumulation.
Common signs include:
- Sticky surfaces
- Dull flooring
- Dirt returning quickly
- Lingering odors
- Darkened grout lines
If these signs appear, deeper cleaning may be required.
How to clean a kitchen floor based on floor type
Different flooring materials require different cleaning methods.
Therefore, understanding your floor type is essential when learning how to clean a kitchen floor.
How to clean tile kitchen floors
Tile is durable and relatively easy to maintain.
However, grout lines can trap dirt, grease, and food particles.
To clean tile floors:
- Sweep thoroughly.
- Remove loose debris.
- Mop using warm water and a floor-safe cleaner.
- Clean grout lines carefully.
- Allow the floor to dry.
Professional cleaners frequently find that grout contains significantly more dirt than the surrounding tile.
How to clean vinyl kitchen floors
Vinyl flooring is durable and moisture resistant.
To clean vinyl floors:
- Sweep regularly.
- Use a microfiber mop.
- Clean spills immediately.
- Avoid abrasive scrubbers.
- Use approved cleaning products.
Although vinyl tolerates moisture better than laminate flooring, standing water should still be avoided.
How to clean laminate kitchen floors
Laminate flooring requires careful moisture control.
Professional cleaners often encounter laminate floors damaged by excessive water exposure.
To clean laminate flooring:
- Sweep thoroughly.
- Use a microfiber mop.
- Apply minimal moisture.
- Dry spills immediately.
- Avoid excessive scrubbing.
Because laminate can swell when exposed to moisture, water management is essential.
How to clean hardwood kitchen floors
Hardwood floors add warmth and character to a kitchen.
However, they require special care.
To clean hardwood flooring:
- Sweep or vacuum regularly.
- Use a damp microfiber mop.
- Choose hardwood-safe cleaners.
- Dry surfaces promptly.
- Clean spills immediately.
Professional cleaners often recommend more frequent maintenance in kitchens because grease and food residue accumulate quickly.
Signs your kitchen floor needs deep cleaning
Routine mopping is important. However, some signs indicate that deeper cleaning is necessary.
Watch for:
- Sticky surfaces after mopping
- Persistent odors
- Dark grout lines
- Dull flooring
- Visible grease accumulation
- Dirt returning quickly
These signs usually indicate that contaminants have accumulated beyond the surface level.
During kitchen deep cleaning appointments, professional cleaners frequently discover grease beneath appliances that have not been moved for months.
As a result, routine maintenance alone may no longer be sufficient.
Professional cleaning tips for better results
Professional cleaners focus on prevention rather than correction.
Helpful practices include:
- Cleaning spills immediately
- Sweeping daily
- Mopping weekly
- Addressing grease promptly
- Moving lightweight furniture periodically
- Cleaning corners and edges regularly
In addition, professionals replace mop water frequently during cleaning.
Although this step seems simple, it prevents dirt from being redistributed.
Microfiber mops also improve results because they capture fine particles more effectively than many traditional alternatives.
Improve kitchen cleanliness beyond the floor
Kitchen floors are only one part of a clean kitchen.
Food preparation surfaces, appliances, cabinets, and countertops also contribute to overall cleanliness.
For this reason, many homeowners schedule recurring House Cleaning Services to help maintain a cleaner environment throughout the home.
A consistent cleaning schedule reduces dust, grease, and food residue while making routine maintenance easier.
When kitchens have not received detailed attention for several months, a professional Deep Cleaning Service can remove buildup from baseboards, appliance edges, and hard-to-reach corners.
Homeowners seeking a more comprehensive cleaning strategy may also benefit from following a Deep Cleaning House Checklist to identify neglected areas throughout the home.
When to hire a professional cleaning service
Many homeowners successfully maintain their kitchen floors through regular cleaning.
However, professional assistance may be beneficial when:
- Grease buildup becomes difficult to remove
- Floors remain sticky after cleaning
- Grout appears heavily stained
- Kitchen odors persist
- Time for cleaning is limited
- Seasonal deep cleaning is needed
Professional cleaners use proven methods and specialized equipment to address buildup that routine cleaning often misses.
Consequently, floors frequently remain cleaner for longer periods.
Frequently asked questions
What is the best way to clean a kitchen floor?
The best way to clean a kitchen floor is to sweep or vacuum first, remove sticky spots, apply a floor-safe cleaner, and mop according to the flooring material.
How often should I mop my kitchen floor?
Most kitchens benefit from weekly mopping. However, homes with pets, children, or frequent cooking may require more frequent cleaning.
Why does my kitchen floor feel sticky after mopping?
Sticky floors often result from grease buildup, excessive cleaning product use, or dirty mop water.
Can I use the same cleaning method on every kitchen floor?
No. Tile, vinyl, laminate, and hardwood flooring require different cleaning approaches.
What area is most commonly overlooked?
Professional cleaners frequently identify areas beneath appliances, along baseboards, and around trash bins as the most overlooked locations.
How do I remove grease from a kitchen floor?
Sweep first, apply a floor-safe cleaning solution, allow it to sit briefly, then mop thoroughly. Heavy buildup may require additional scrubbing.
Keep your kitchen floor cleaner for longer
Learning how to clean a kitchen floor correctly can improve hygiene, reduce grease buildup, and protect your flooring investment.
By following a consistent routine, addressing spills quickly, and using the appropriate cleaning method for your specific floor type, you can maintain a cleaner and healthier kitchen throughout the year.
Regular maintenance prevents many common problems before they become difficult to manage. Furthermore, understanding how to clean a kitchen floor properly helps extend the life of tile, vinyl, laminate, and hardwood flooring.
For homes with heavy foot traffic, pets, or persistent grease buildup, professional cleaning services can provide valuable support and help maintain long-term results.
For additional guidance on creating a healthier indoor environment, review the EPA Indoor Air Quality Guide: EPA Indoor Air Quality Guide
A well-maintained kitchen floor not only looks better, but also contributes to a cleaner, safer, and more comfortable home.
