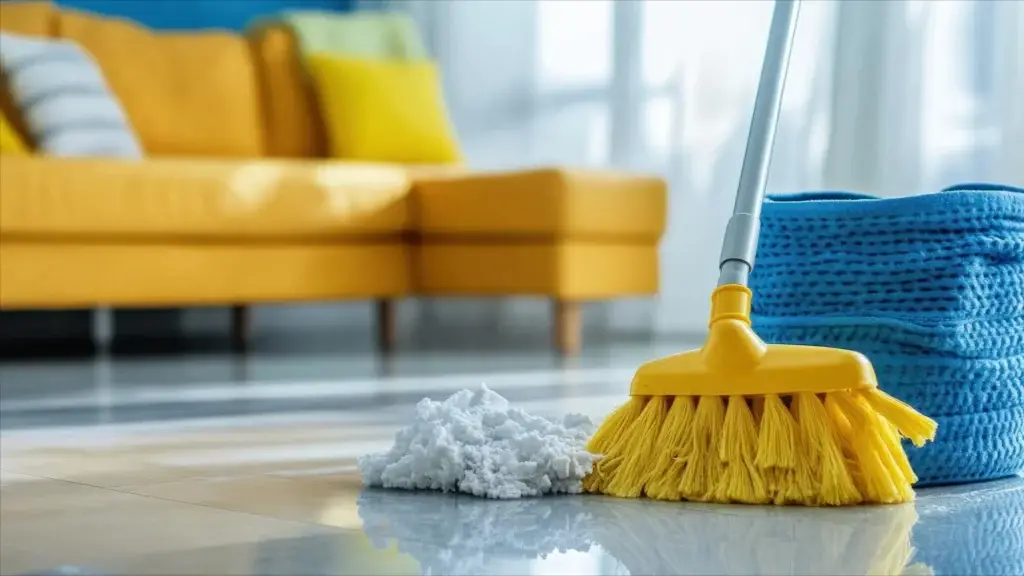
Clutter accumulates quietly. One item left on the counter leads to another, and before long, every surface has become a holding area for things that no longer belong. Living in a cluttered home is mentally and physically exhausting, even when you have grown so used to it that you no longer notice consciously.
A systematic decluttering service approach cuts through that accumulated mess and helps you reclaim your living spaces. This guide walks you through 12 steps for decluttering your entire home, room by room, and explains how professional help can accelerate and simplify the process.
Why decluttering is different from tidying
Tidying moves things into more orderly arrangements without questioning whether those things should be there at all. Decluttering asks the harder question: does this item belong in my life?
Answering that question, repeated across every item in every room, produces homes that are genuinely easier to live in. Less stuff means less to organize, less to clean, and less visual noise competing for your attention.
The benefits extend beyond the practical. Research consistently shows that people who live in organized, clutter-free environments report lower stress levels, better sleep quality, and improved mood.
Before you begin: the right approach to decision-making
Effective decluttering requires making decisions quickly and consistently. For each item, ask one straightforward question: does this add value to my life right now?
If the answer is no, it goes. If you genuinely cannot decide, place the item in a “maybe” box with a date written on it. If you have not opened the box in three months, donate its contents without reviewing them again.
Be prepared for the process to take longer than expected. Decluttering an entire home typically spans multiple sessions over several days or weeks, depending on how much has accumulated and how much time you can dedicate. A professional decluttering service helps by bringing structure, momentum, and objective judgment to a process that can stall when you are working alone.
12 steps to declutter your home room by room
Step 1: Start with the easiest room
Do not begin with the room that feels most overwhelming. Start with the space that has the least clutter, whether that is a bathroom, a guest room, or a laundry area. This builds momentum and confidence before tackling the harder spaces.
Completing one room fully, including sorting, deciding, donating, and reorganizing, gives you a clear model to follow in the rooms that come next.
Step 2: The living room
The living room accumulates a specific type of clutter: items brought in from elsewhere and never returned. Remote controls, chargers, books, toys, and mail all gravitate toward this space because it is central.
Start by removing anything that does not belong in the living room. Return items to their proper places throughout the home. Then address the items that do belong there. Review books, DVDs, and decorative items critically. Keep only what you genuinely use or love.
Pay particular attention to flat surfaces. They attract clutter because they are convenient. Leave them intentionally clear.
Step 3: The kitchen
The kitchen deserves its own extended session because it contains more categories of items than any other room. Work through it systematically: pantry and dry goods first, then appliances, then cookware and tools, then dishes and glassware.
For the pantry, remove everything and check expiration dates. Discard expired items immediately. Consolidate duplicates and donate non-expired items you will not use.
For appliances and cookware, apply the usage test. If you have not used a kitchen gadget in the past year, it is unlikely you will. A streamlined kitchen is a more functional kitchen.
Step 4: Bedrooms
Bedrooms serve as personal retreats. When they are cluttered, they interfere with sleep and relaxation.
Closets are the primary challenge in most bedrooms. Evaluate clothing honestly: does it fit, does it suit your life now, and have you worn it in the past year? Donate generously. A wardrobe that fits in your closet without crowding is significantly more functional than one that barely fits.
Clear bedside tables and dressers of anything that does not serve the bedroom’s purpose. Charging stations, reading materials, and sleep-related items earn their place. Random clutter does not.
Step 5: Children’s rooms
Children’s rooms require a different strategy because children often resist decluttering. Involve them in age-appropriate decisions about their belongings. For younger children, reducing the total number of toys actually improves play quality because they can focus on what is in front of them.
Rotate toys rather than keeping everything accessible at once. Store half the toys and introduce them again when the current selection loses interest.
Step 6: Bathrooms
Bathrooms typically contain expired medications, empty containers, and products that were tried once and abandoned. Go through every cabinet and drawer and remove anything past its expiration date or no longer in use.
Check under the sink for cleaning products, extra supplies, and items that have migrated from elsewhere. A bathroom that contains only what you actively use is much easier to keep clean.
Step 7: Home office or study area
Paper and technology-related clutter are the primary challenges in a home office. Establish a filing system for documents worth keeping and discard or shred everything else. Review books and reference materials honestly.
Cables and peripherals for devices you no longer own take up drawer space unnecessarily. Remove them.
Step 8: Garage
The garage tends to be where decluttering efforts stall, because it contains the hardest decisions: tools, sports equipment, seasonal items, and things kept “just in case.” Approach it methodically using the zone method, clearing and evaluating one zone at a time rather than the entire space at once.
Step 9: Basement and attic storage areas
Storage areas are where the hardest clutter accumulates: items kept without clear reason for years. Many of these items are there because a decision was never made about them, not because they are genuinely needed.
Schedule dedicated time for these areas. Bring labeled boxes for donating, selling, and discarding. Be systematic and accept that most of what is in storage probably does not need to be kept.
Step 10: Linen closets and hallways
Linen closets fill up with mismatched towels, old bedding, and items that have no other home. Keep only what you regularly use and that is in good condition. Donate spare sets of linens in good condition. Discard worn or stained items.
Hallways collect shoes, bags, and seasonal accessories. Install hooks, a shoe rack, or a storage bench if needed, and establish a habit of returning items to their proper place daily.
Step 11: Dining room
Dining rooms often double as catch-all spaces in homes where they are not used for daily meals. Clear the table and sideboard completely. Evaluate whether the items stored here actually belong in a dining space or whether they are simply convenient surfaces that attract clutter.
Step 12: Do a full home walkthrough
Once every room has been addressed, do a complete walkthrough of the home. Often, the decluttering process reveals items that belong in a different room or that were moved during the process and need to find their permanent home.
This final pass also gives you a sense of what remains to be organized, what new storage solutions might help, and where the decluttering service work has made the biggest impact.
Professional decluttering service: when to call for help
Some homes have accumulated clutter over many years. The process of clearing them is genuinely overwhelming and often stalls when attempted alone. A professional decluttering service brings structure, momentum, and objective perspective that makes a significant difference.
Quality Clean Service offers professional organizing and decluttering services for homes across Nantucket, Cape Cod, and Martha’s Vineyard. Our team works alongside you to make decisions, organize what remains, and create systems that are easy to maintain long term.
Explore their full range of professional organizing services to see how they approach decluttering for kitchens, closets, garages, and whole homes.
Pairing a decluttering project with a professional deep clean ensures that your newly cleared spaces are thoroughly clean from the start. Quality Clean Service can coordinate both services in a single engagement. Learn more about their residential cleaning services for Nantucket and Cape Cod homes.
Making it last: organizing after you declutter
Decluttering creates the foundation. Organizing builds the system that prevents clutter from returning. Once each room is clear, establish simple rules for what enters the space and where every item lives.
A few principles that experienced organizers follow consistently:
- Every item that enters your home should have a designated place before it crosses the threshold
- Avoid setting things down “for now.” That temporary surface quickly becomes permanent
- Donate or discard before purchasing anything new: one in, one out works better than most people expect
For Nantucket and Cape Cod homes, seasonal transitions create natural opportunities to reassess and reset. Each time you open or close a seasonal property, you have a built-in reason to review what you have and decide what still belongs.
For guidance on professional organizing standards, the National Association of Productivity and Organizing Professionals maintains a directory of certified organizers who specialize in whole-home decluttering.
A home that works for you
A decluttered home is easier to clean, easier to navigate, and easier to live in. The process of getting there takes effort and honest decision-making, but the result is a space that genuinely supports the life you want to live.
Use this 12-step room-by-room approach to work through your home systematically. When you are ready for professional support, Quality Clean Service’s decluttering service team is ready to help.