
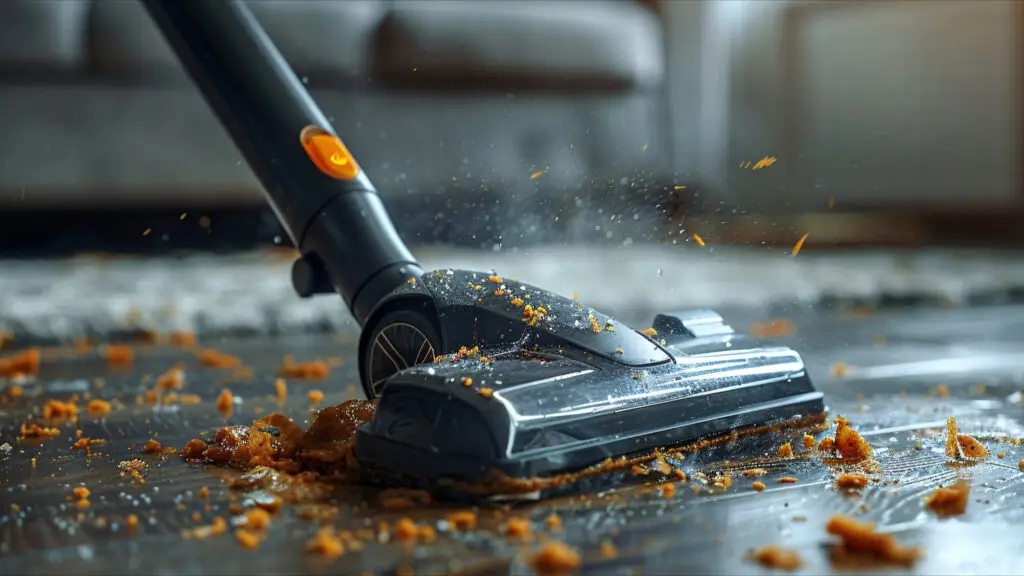
A finished remodel can still feel unfinished. Fine dust sits on flat surfaces. Smudges show up on glass. Tiny debris hides in corners.
That’s why a clear process matters. With the right order, Post-Construction Cleaning goes faster, looks better, and stays safer for everyone who walks in next.
Step 1: Set the scope before you start Post-Construction Cleaning
Before you grab supplies, define what “done” means. Many problems happen because people mix up rough cleaning, deep cleaning, and final cleaning. Each stage has a different goal. Each stage also needs a different pace.
Use this simple scope map for Post-Construction Cleaning:
- Rough cleaning (site reset): remove trash, large debris, stickers, and leftover materials.
- Deep cleaning (detail work): remove dust film, residue, and buildup across the whole space.
- Final cleaning (move-in ready): perfect the visible details, polish, and verify results.
Also, list the rooms and surfaces that matter most. For example: windows, baseboards, cabinets, vents, floors, and fixtures. Then, note what the construction project included, because that drives the mess (drywall dust, sawdust, grout haze, paint mist, and adhesive residue).
If you’re hiring professional cleaning, ask for a written scope. It keeps Post-Construction Cleaning consistent from the first walkthrough to the handoff.
Step 2: Put safety first during Post-Construction Cleaning
Construction dust is not “just dirt.” Some particles irritate lungs and eyes. Others can damage finishes when you wipe the wrong way. So, start Post-Construction Cleaning with basic safety controls.
Do these first:
- Open windows when weather allows.
- Turn off HVAC while you remove heavy dust, if the system can pull particles into ductwork.
- Wear gloves and eye protection.
- Use a fitted mask when you expect fine dust (especially drywall sanding dust).
If your job includes silica-bearing materials, follow OSHA’s silica guidance and keep dust under control. That single step can change how you plan Post-Construction Cleaning, especially in active renovation zones.
Finally, walk the space and look for hazards: nails, sharp edges, loose boards, and wet areas. Safer work also means fewer re-dos.
Step 3: Win the battle of dust removal (the right way)
Most people fail Post-Construction Cleaning in one place: dust removal. They wipe too soon, spread dust, and then wonder why surfaces look dull the next day.
Instead, go top to bottom and use “dry capture” first.
A strong dust removal sequence:
- Start with ceilings, corners, and ledges.
- Move to walls, trim, door frames, and cabinets.
- Finish with floors last (always last).
Tools that help Post-Construction Cleaning feel controlled:
- A vacuum with a HEPA filter.
- Soft brush attachments for trim and vents.
- Microfiber cloths (they grab dust instead of pushing it).
- A dry dust mop for first-pass floor pickup.
Also, change cloths often. When a cloth loads up, it stops capturing dust. Then Post-Construction Cleaning turns into dust painting.
If you see dust “reappearing,” check hidden shelves, the tops of doors, closet headers, and window tracks. Those spots quietly ruin an otherwise good Post-Construction Cleaning job.
Step 4: Switch to wet cleaning for residue and shine
Once dust removal is under control, start wet cleaning. This is where Post-Construction Cleaning turns from “presentable” to “polished.”
Work in small sections. Use light moisture first. Too much water can swell wood, stain drywall, or haze fresh paint.
Focus areas for Post-Construction Cleaning:
- Cabinet fronts and interiors: wipe, then dry immediately.
- Counters and backsplashes: remove fine grit before scrubbing.
- Fixtures: remove fingerprints, then buff.
- Glass and mirrors: clean edges and corners, not just the center.
Common residues to expect after a construction project:
- Painter’s tape adhesive
- Grout haze
- Caulk smears
- Overspray dots
- Sticker glue on frames and panes
Tip: test any product in a hidden spot. Post-Construction Cleaning often happens around new finishes, and new finishes scratch easily.
Step 5: Treat floors like the “final exam”
Floors show everything. They also collect the most debris. So, plan floor work as a dedicated phase of Post-Construction Cleaning, not as an afterthought.
Use this order:
- Vacuum edges and corners first.
- Vacuum the full floor slowly (fast passes miss grit).
- Spot-scrape paint drips carefully (use plastic tools to reduce scratches).
- Mop with a neutral cleaner that matches the floor type.
- Rinse if the product requires it, then dry.
Material-specific notes for Post-Construction Cleaning:
- Hardwood: avoid soaking. Use minimal moisture and a floor-safe cleaner.
- Tile: watch for grout haze and film; buff dry after mopping.
- Vinyl/LVP: remove grit first, because grit causes micro-scratches.
- Carpet: vacuum thoroughly; consider extraction if the dust is heavy.
If you want the space to look “new-new,” floors often decide whether Post-Construction Cleaning feels premium or rushed.
Step 6: Clear the air: vents, filters, and fine particles
Even great Post-Construction Cleaning can fall apart if the air keeps dropping dust back onto surfaces. So, handle air movement and dust traps.
Do these steps:
- Replace or clean HVAC filters after dusty work.
- Vacuum vent covers (and wipe them).
- Dust ceiling fans, light fixtures, and bulbs.
- Check bathroom fans and intake grilles.
Also, let the space rest for a short period, if possible. Then do a fast “second pass” dust removal on key flat surfaces. This simple return visit makes Post-Construction Cleaning look much more consistent.
If the job is large, consider an air scrubber. Many professional cleaning teams use them during Post-Construction Cleaning to reduce floating particles and speed up the final finish.
Step 7: Do a final cleaning walkthrough with a checklist
Now you’re in the “detail and verify” stage. This is the moment where Post-Construction Cleaning becomes client-ready.
Use a tight checklist. Keep it visual. Then fix issues immediately while tools are still out.
Final cleaning checklist (quick but strict):
- No dust in window tracks, sills, or corners
- No fingerprints on switches, handles, and appliances
- No haze on mirrors or glass
- No debris in drawers, cabinets, or closets
- No smears on trim, doors, and baseboards
- Floors look even, with no sticky spots or grit
- Bathrooms shine and smell neutral (not chemical-heavy)
Commercial tip: if you’re comparing quotes for Post-Construction Cleaning, ask how the team defines final cleaning, and whether they include a re-check pass. That one detail separates “basic” from “high-trust” professional cleaning.
If your build is in a place with tricky logistics (for example, Nantucket), confirm access timing, supply staging, and who handles waste. Post-Construction Cleaning fails when teams show up without the right plan.
The Clean Handoff
A smart process saves time and protects new finishes. It also reduces call-backs, because dust removal, floor care, and air control work together instead of fighting each other. When you follow these 7 steps, Post-Construction Cleaning feels calm, repeatable, and truly move-in ready.
