The kitchen pantry is the heart of your food storage, but it can quickly become a chaotic mess of half-empty boxes, forgotten jars, and crumbs. A deep clean isn’t just about making it look nice; it’s about creating an efficient, hygienic space where you can easily find what you need. Follow this step-by-step guide to transform your pantry from a cluttered closet into a perfectly organized food haven.
Why pantry cleaning is essential for food safety
A clean pantry is a safe pantry. Over time, spilled flour, sugar, or cereal can attract pests like ants and pantry moths. Expired or improperly stored food can grow mold and spoil, creating a risk to your family’s health. By regularly cleaning and organizing your pantry, you can:
- Prevent pest infestations.
- Ensure the freshness of your food.
- Reduce food waste by seeing what you have.
- Improve overall kitchen hygiene.
Step 1 – Empty and sort pantry items
This is a crucial first step. You can’t clean what you can’t see.
- Remove Everything: Take every single item out of your pantry and place it on your kitchen counter or a table. This includes food, small appliances, baskets, and anything else.
- Create Zones: As you remove items, sort them into logical piles on your counter. Good categories include:
- Canned goods
- Grains and pasta
- Snacks and cereals
- Spices and baking supplies
- Oils, sauces, and condiments
This initial sorting will make the reorganization process much easier.
Step 2 – Check expiration dates and declutter
Now that everything is out in the open, it’s time to purge.
- Check Expiration Dates: Look at the “best by” or “use by” date on every food item. Throw away anything that has expired. This is also a good time to get rid of food you know you won’t use.
- Toss Damaged Items: Discard any items with torn packaging, signs of pests, or strange smells.
- Consolidate: Combine duplicate items (e.g., two half-full boxes of pasta) into a single container to save space.
Step 3 – Wipe shelves and disinfect surfaces
With the pantry empty, you can finally give it a proper clean.
- Vacuum or Sweep: Use a vacuum with a hose attachment or a broom to clean up any loose crumbs or debris from the shelves and floor.
- Wipe Down: Use a damp cloth and a mild all-purpose cleaner to wipe every shelf, wall, and the floor of the pantry. For hard-to-reach corners, use a toothbrush to get rid of stuck-on grime.
- Disinfect: For extra peace of mind, use a disinfectant spray on surfaces to kill any lingering bacteria.
- Dry Completely: Make sure all surfaces are completely dry before putting anything back to prevent mold and mildew growth.
Step 4 – Reorganize with bins, jars, and labels
This is the most satisfying step—the one that gives your pantry a long-lasting makeover.
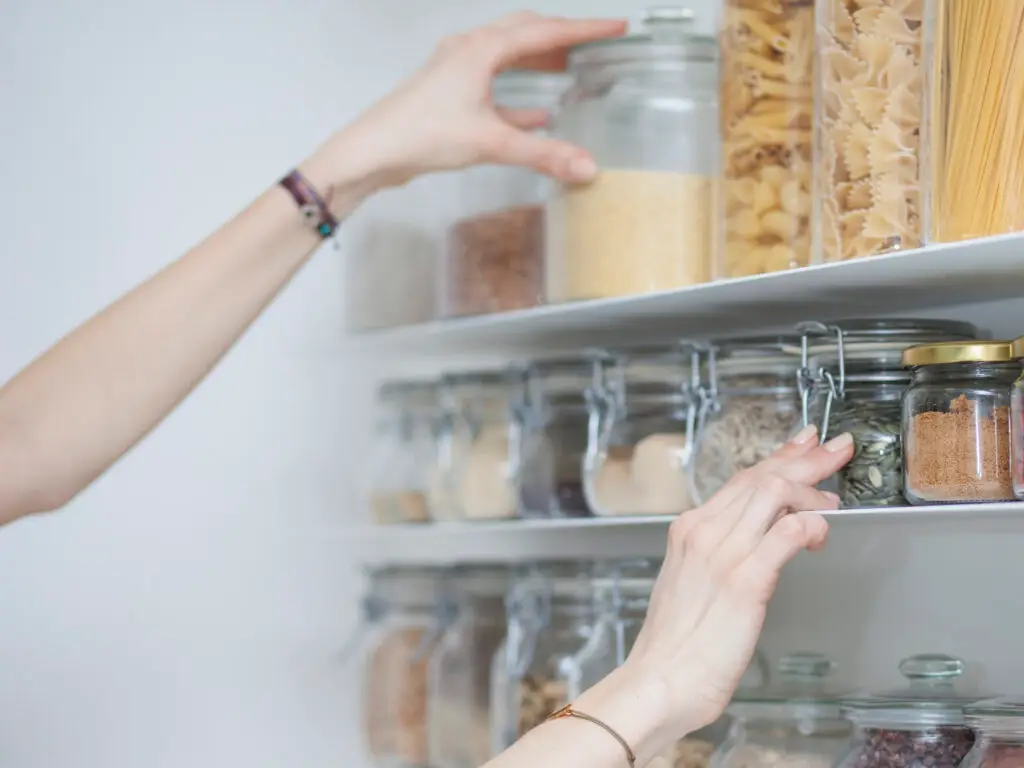
- Decant and Store: Transfer dry goods like pasta, flour, sugar, and cereals into clear, airtight containers. This keeps food fresh and makes it easy to see when you’re running low.
- Use Bins and Baskets: Use bins to create zones for your categories (e.g., a “Snack” bin, a “Baking” bin, etc.). This keeps small items from getting lost and makes it easy to pull out what you need.
- Label Everything: Use labels on your containers and bins so everyone in the family knows exactly where to find things and where to put them back.
- Strategic Placement: Place items you use most often (like spices and snacks) at eye level. Heavier items (like canned goods or bulky bags) should go on lower shelves.
Tips to maintain a clean and organized pantry
- Weekly Check-in: Take a few minutes each week to do a quick sweep. Put things back in their proper place and wipe up any spills immediately.
- The “First In, First Out” Rule: When you buy new groceries, place them behind the older ones so you use the oldest food first.
- Keep a Running List: Hang a small whiteboard or a notepad on the inside of the pantry door to jot down items you need as you run out.
A clean and organized pantry makes cooking and meal planning a breeze. If you’d like a professional touch, contact Quality Cleaning Services today to schedule a comprehensive kitchen deep clean!